A TV Antenna inside the roof is just a metallic conductor capable of emitting or capturing electromagnetic signals.
Television antennas are designed to receive the electromagnetic waves transmitted by the transmitting antennas of TV channels. This device is essential if you want to have access to a large part of the free programming of open TV channels. Some TV antenna devices allow those televisions that have incorporated the European standard DVB-T2 to tune channels for free, as long as they have reception.
With a proper installation, you will be able to enjoy channels like ABC, CBS, NBC, PBS, and FOX completely free in many parts of the world.
Television antennas, in particular, are designed to receive open signals, that is ground waves, in which the television signal is transmitted through radio waves with frequencies from 41 to 250 MHz. Now, that you understood how a television antenna works, we will continue to learn more about their different classification.
TV antennas are classified into two different types depending on their location
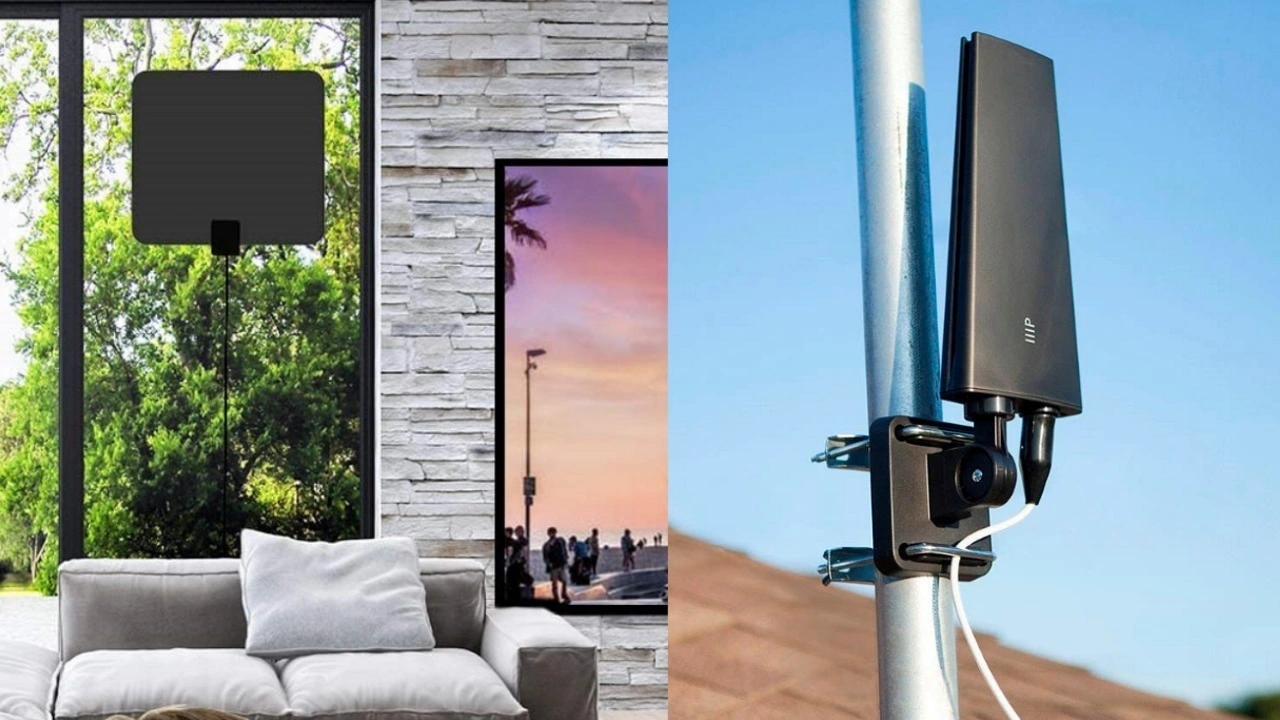
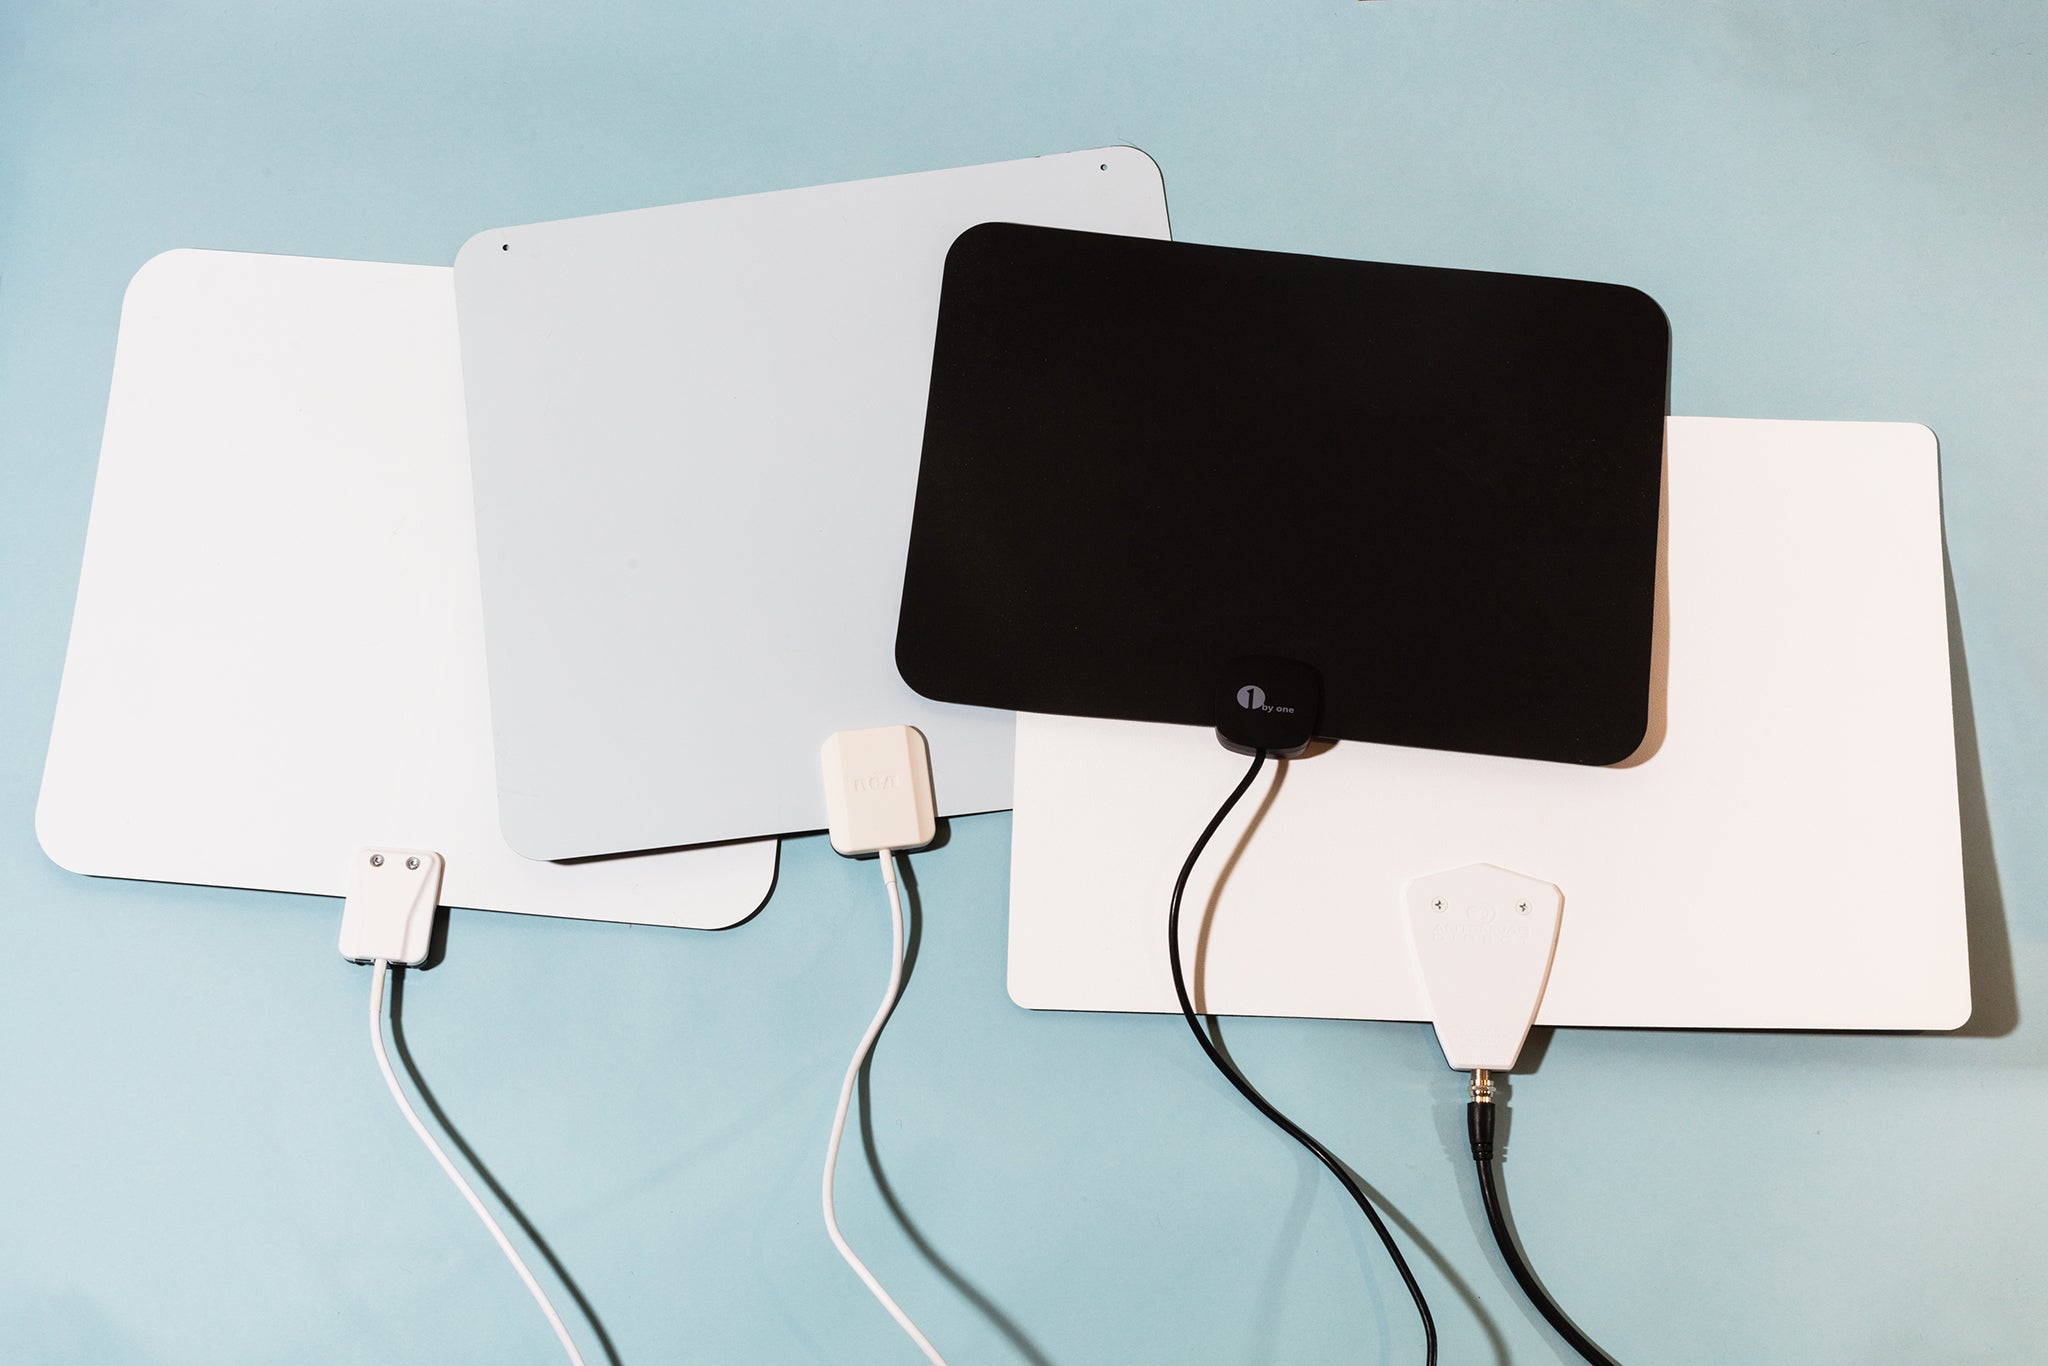
Inside roof television antennas
In general, these types of devices are connected to the television through a coaxial cable, they are very small and do not represent much space, they can be like an envelope or a magazine. Its installation is very simple, so its price is cheaper compared to outdoor antennas.
Exterior television antennas
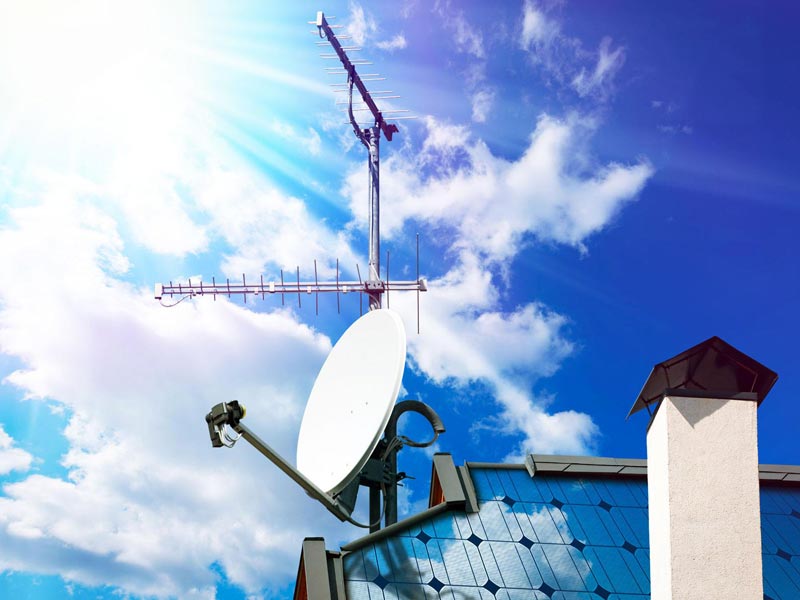
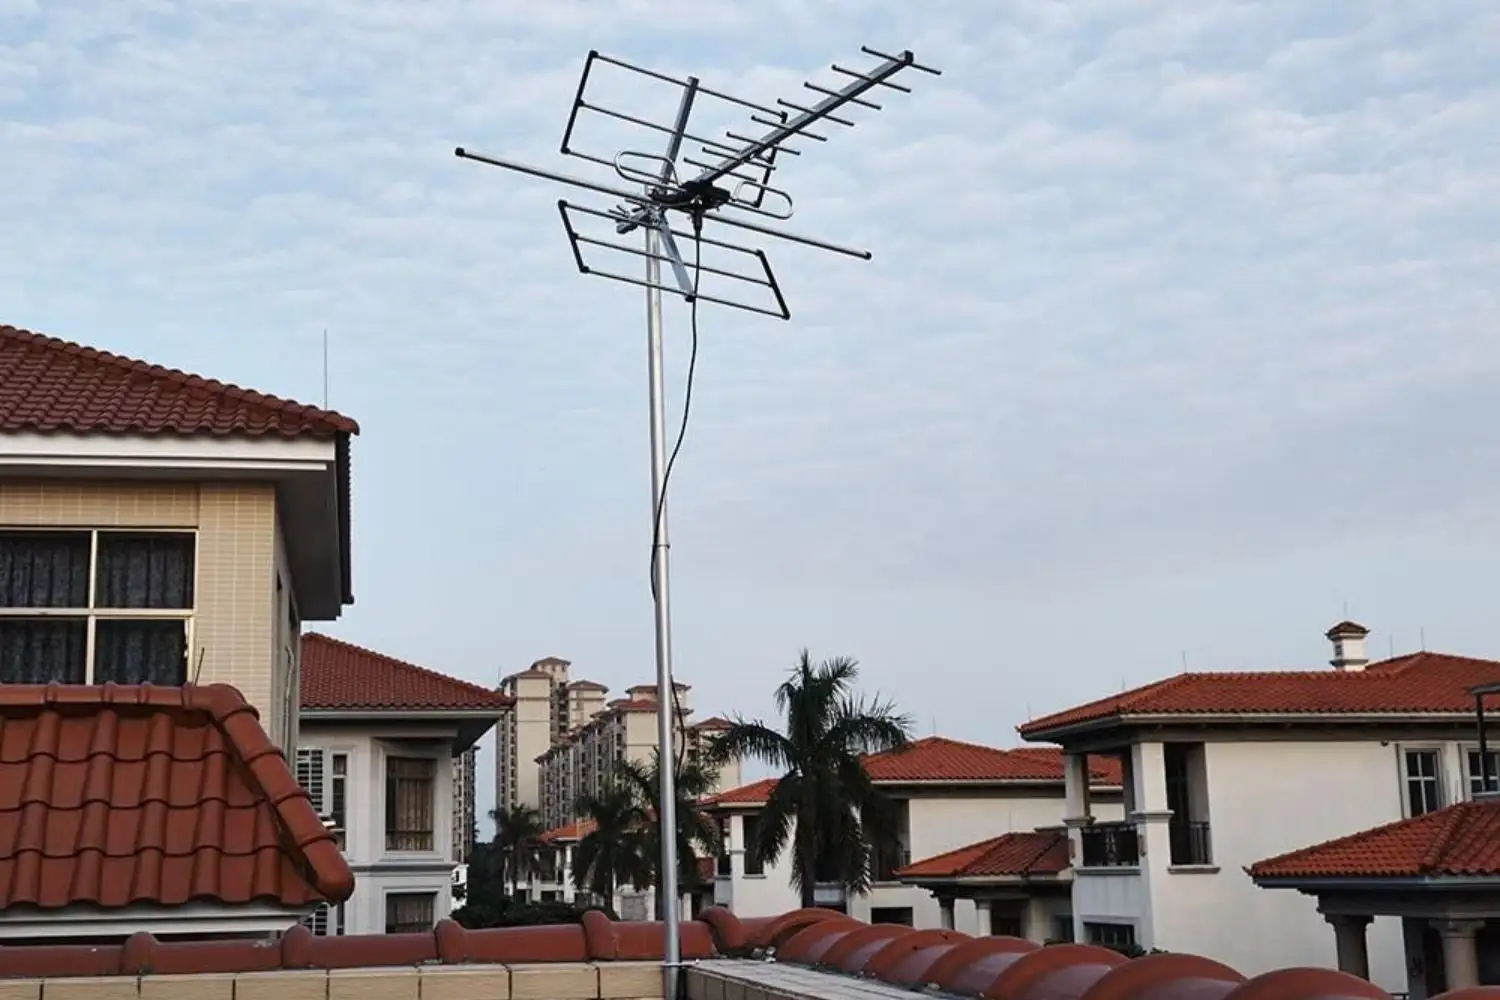
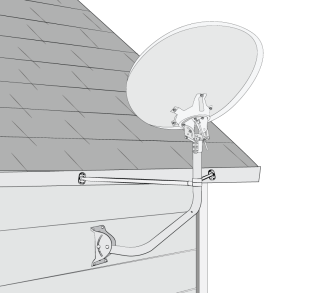
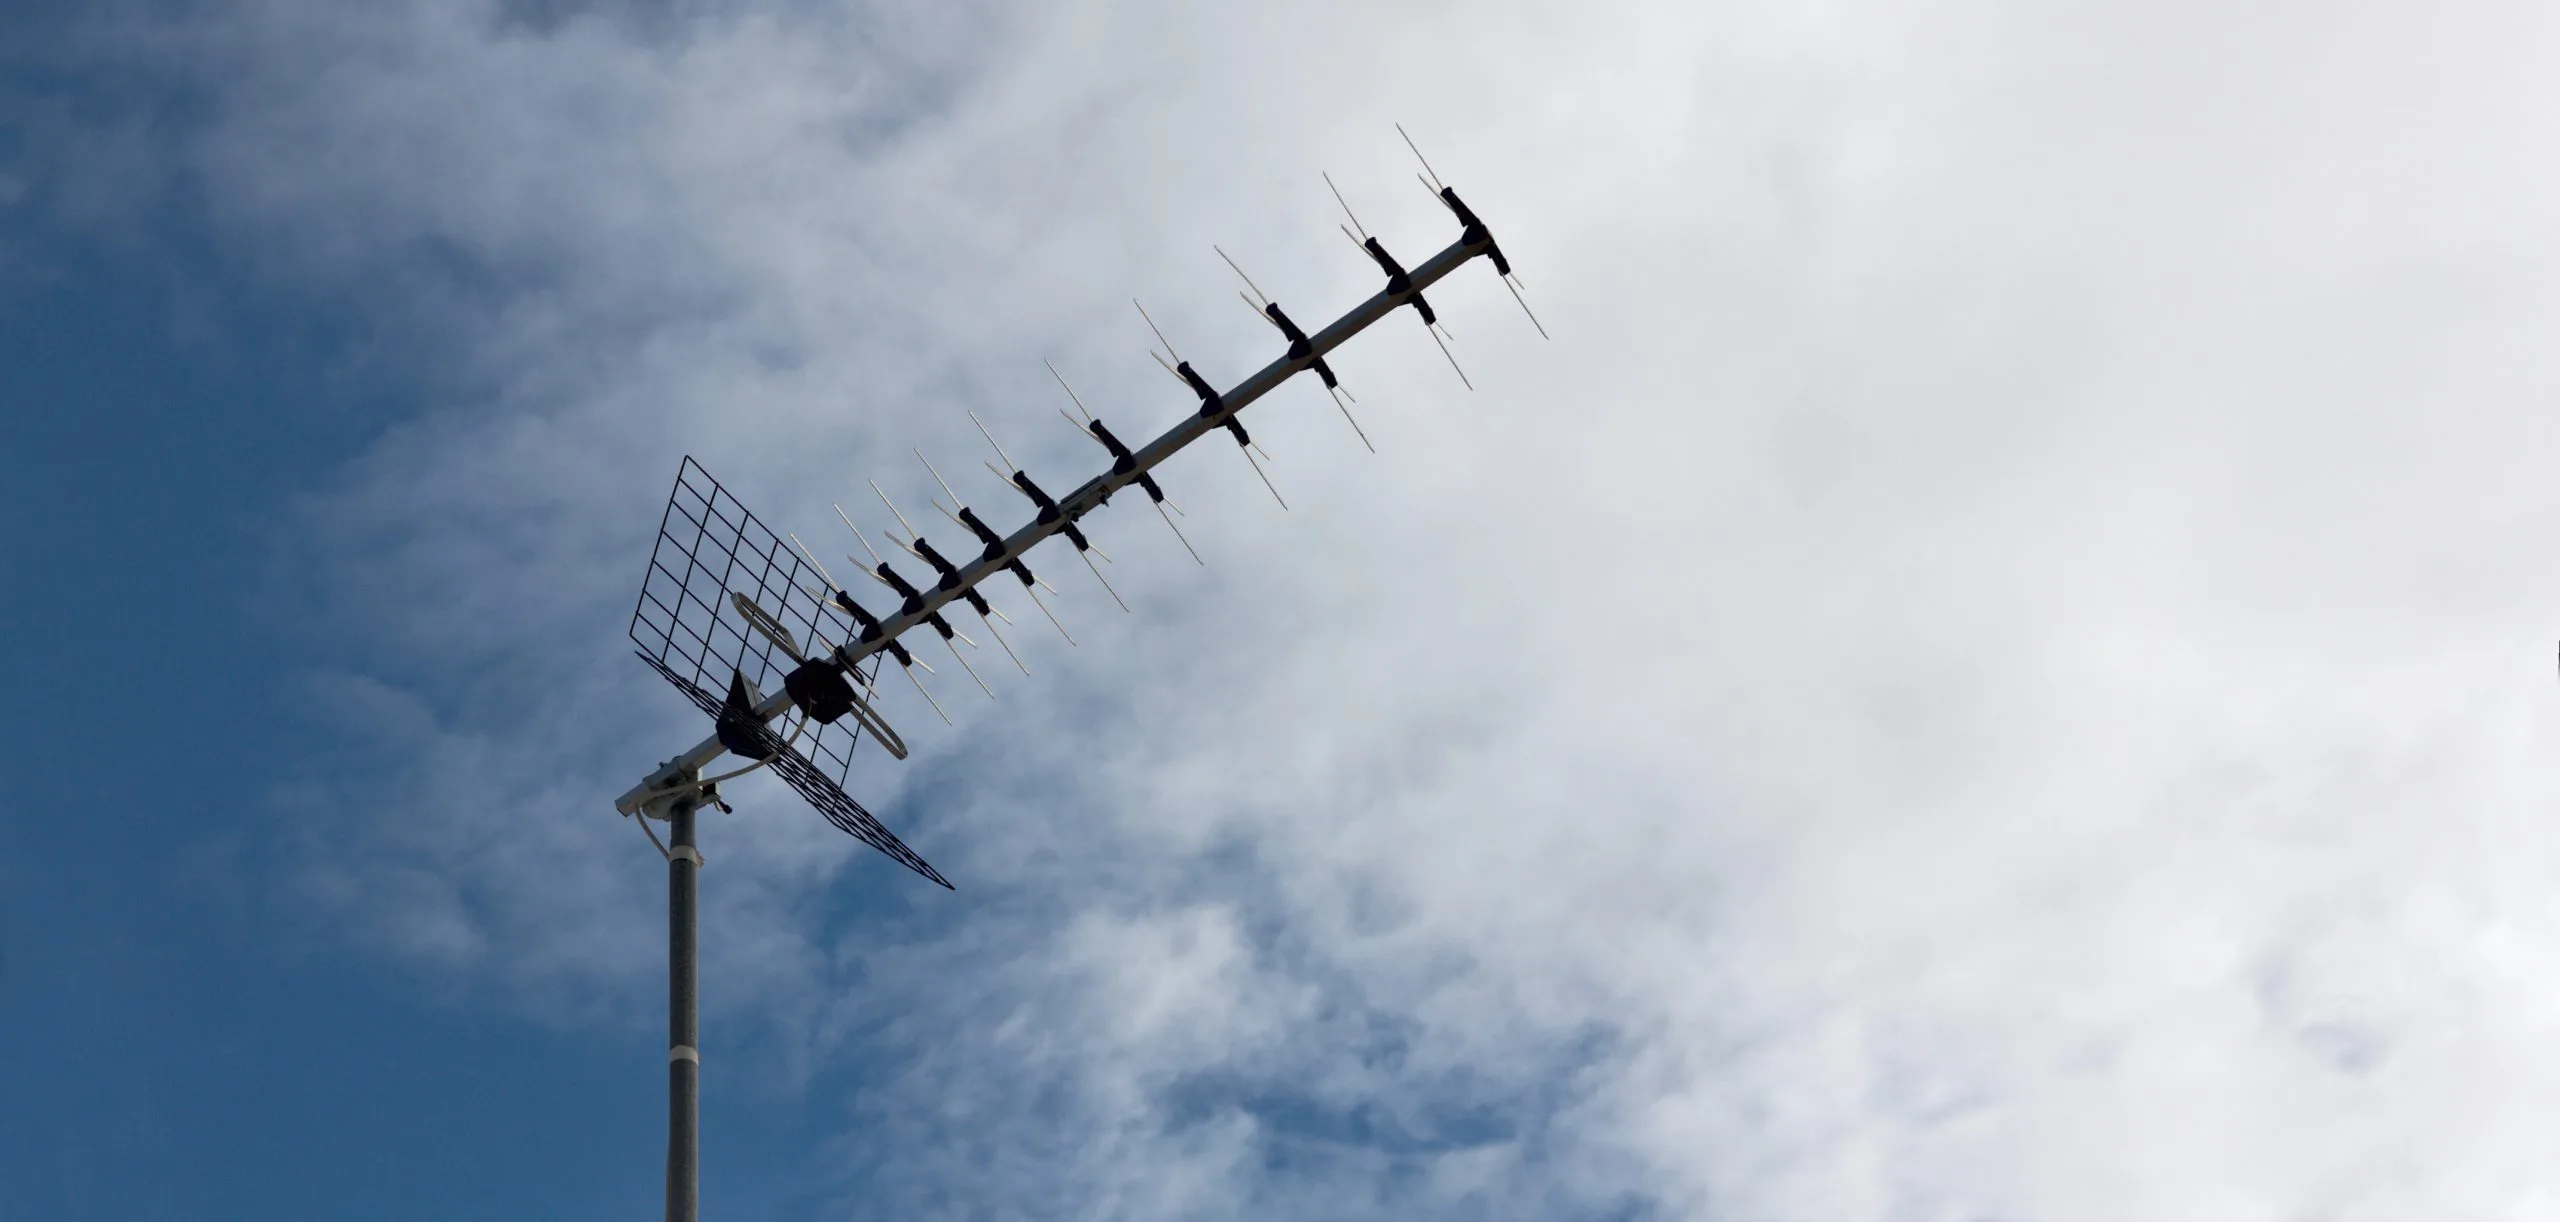
They are designed to be installed in attics or roof terraces, usually, in the highest parts of the house, the size of the house will determine the range of the service, that is, the larger the antenna, the greater the signal sensitivity and number of available TV channels.
Can a TV antenna be put on the roof?
The main purpose of an outdoor antenna is to increase the quality of the signal, since it is not interrupted by obstructions such as walls, or low trees, it is possible to receive free-to-air television signals with better quality.
Locating the antenna in the highest part of the house increases the chances that the received signal will be complete and without interruptions. It should be noted that installation is a key factor in the reception quality.
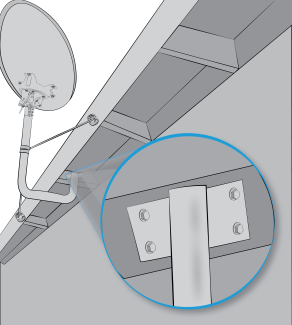
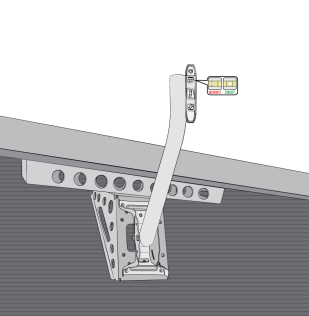
If the mounting bracket is properly installed, it will help keep the antenna properly aligned, during storms and high winds, and will not allow water to seep through the roof deck shingles, causing an indoor wet mess in the home.
Steps to install an Outdoor TV Antenna on the roof
To ensure that you have great image quality and TV reception, we will take you through the installation step by step, although we can assure you that it is not an easy process. This guide will improve the chances of you getting the installation right, otherwise, you can always contact us to install it for you.
Note that these steps are general and some TV antenna manufacturers would have different steps. So ensure you read the installation manual before any work.
Items:
- Holding master
- DTT antenna
- Mast amplifier
- Power supply
- Coaxial cable
- Indoor amplifier
- TV socket
Step 1: Choose the best location
Choosing the location of the antenna on the roof, it should generally be a foot or 30 cm below the highest point of your house or on one of the eaves.
Note: Locating the antenna on an eave, right on the part of the roof that hangs over the side of the building, decreases the chances of water seeping into the house.
Step 2: Place the Base
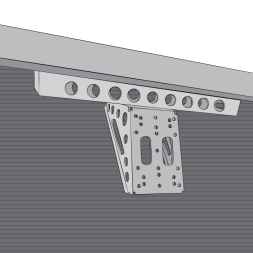
Placing the base, although it seems an intuitive step, is one of the crucial moments, which will determine the direction of the antenna, anchorage, and reception.
Mark the holes for the base bolts on the roof tiles with a pencil. Set the base aside.
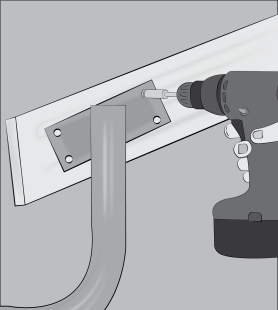
Step 3: Drill the Ceiling
Drill holes through the shingles and deck at each mark you made with a drill equipped with a 1/4″ drill bit. The shingles cover the plywood roof deck.
Step 4: Prevention of water leaks
It is important to add a piece of 1/4 inch (0.64 cm) thick sheeting roofing felt to each hole drilled in the roof to prevent water seepage.
Step 5: Put everything in its place
With the holes, the water protection, and the antenna support in place, it only remains to align the holes in the base with the drilled holes.
Step 6: Secure the base
Secure the bracket base to the ceiling with the mounting bolts provided by the manufacturer. Tighten the bolts with the appropriate size wrench.
Step 7: Installation of the antenna
Lock the antenna mast to the mounting bracket using the antenna manufacturer’s instructions. This often involves securing an L-shaped mounting bracket to the mast studs with nuts and lock washers.
Step 8: Pin and Secure Everything
Be sure to attach the mounting bracket to the base of the mounting bracket with the bolts provided by the antenna manufacturer. Tighten the bolts with the appropriate wrench.
Step 9: Connect the signal
Finally, you just have to connect the TV antenna cable to the antenna. The cable is usually screwed into the antenna near the base.
Following these 9 steps, we have completed the installation of the outdoor TV antenna.
What is the best outdoor antenna?
TV antennas are a good strategy if you want to save a few hundred a month by canceling your TV subscription. With the Television antennas, you will not only be able to obtain direct savings, but it is also the best option to enjoy free television channels with the best quality and clarity.
There are various options on the market, depending on the size or installation mode. We will leave you some recommendations to choose what best suits your needs.
The best according to the Amazon portal are:
- Outdoor TV Antenna, Long Range, Weather Resistant, Compatible with 4K, 1080p, UHF, VHF, Digital HDTV Antenna, J-Mount for a Variety of Mounts, Multiple TVs, 29884
- Long Range Outdoor Aerial HDTV Antenna, Amplified Range, 12 Elements, High Definition, (easy to install).
In conclusion
TV antennas are an excellent option if you want to save some money on today’s subscription platforms like Netflix, HBO, and Disney+, make sure it is installed correctly so you don’t have bad reception and image quality in the future.


